Prepare the Let’s Encrypt Win-ACME client
There is a list of ACME clients offered by third parties to use. We are going to use Windows ACME Simple (WACS). A simple ACME client for Windows – for use with Let’s Encrypt. It will automatically renew your certificates, so after you install and configure it, you’ll have a continually-secured web server.
Download Win-ACME from GitHub or the official website. At the moment of writing, the file is win-acme.v2.1.7.807.x64.pluggable.zip. Create a folder named Lets Encrypt in C:\Program Files. Extract the files in the .zip to the folder C:\Program Files\Lets Encrypt.
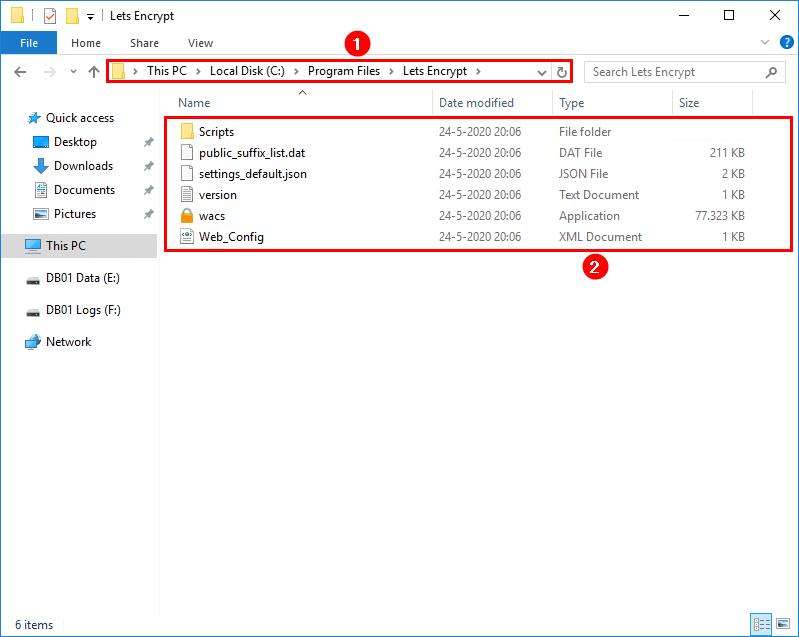
You can use Win-ACME from the interactive menu or unattended mode (command line). With the command line, you don’t have to jump through the menus. Both will work, and it’s good to learn both ways.
Install Let’s Encrypt certificate in Exchange Server
After downloading and extracting the files, we are going to configure Let’s Encrypt certificate. We are going to show both the interactive menu and command line in the next steps.
Install Let’s Encrypt certificate using Interactive Menu
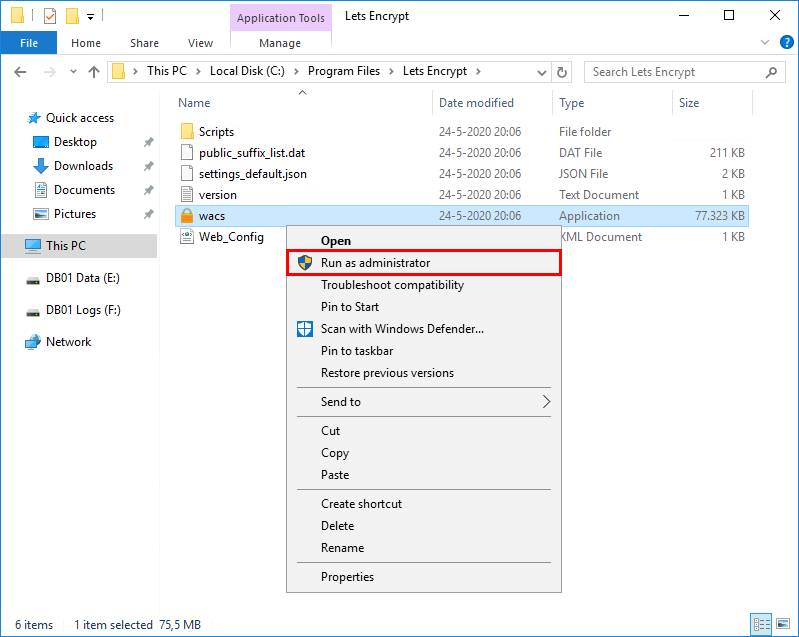
Right-click the application wacs. Click run as administrator to start the application.
Win-ACME client window will show up. Type M to create a renewal certificate (full option) and press Enter.
Enter a comma-separated list of hostnames. Have a look at your Exchange hostnames and fill them in. Have you configured the Exchange Server hostnames correctly? There should be no internal names, for example, EX01-2016. Have a look at the article Exchange namespace design and planning. I recommend keeping the same namespace for the internal DNS and external DNS.
In my example, I will be using mail.exoip.com and autodiscover.exoip.com. After that, press Enter.
We will not enter anything for the suggested friendly name. Press Enter to continue.
The Let’s Encrypt ACME client will connect with Let’s Encrypt on port 80 through the firewall to request a certificate. If you don’t have port 80 enabled, do that before proceeding. Learn more about network ports for clients and mail flow in Exchange.
We don’t have to enable port 80 on the Exchange Server. We can use port 443, which is option 9 – TLS-ALPN-01. To handle the challenge correctly, we cannot go through the HTTP stack. We need direct control (exclusive access) over port 443, meaning that IIS needs to be shut down for it to work.
You don’t want to shut down IIS whenever requesting or updating the Exchange certificate. That’s why we did enable port 80 in the firewall and choose option 2.
Type 2 for RSA key and press Enter.
Choose option 3 to store the certificate in the Windows Certificate Store and press Enter.
Type 3 as we don’t need to store it another way and press Enter.
Select 1 to create or update https bindings in IIS and press Enter.
Type 1 for Default Web Site and press Enter
Type 2 to start external script or program and press Enter
Add the PowerShell script path ./Scripts/ImportExchange.ps1 and press Enter. The download of ACME includes the script. Have a look in the ACME scripts folder.
Add the following parameters, including the services IIS, SMTP, and IMAP. Press Enter.
We don’t need to add another installation step. Press 2 and press Enter.
Enter your email and press Enter.
Press n to not open the terms of service and press Enter. We can always look at the terms of service by opening the PDF file in File Explorer.
Press y to agree with the terms and press Enter.
The output will show that it’s configuring the Let’s Encrypt certificate.
We don’t want to specify a user for the task to run. Press n and press Enter. The SYSTEM user account will be used to run the task.
Click Q and press Enter to exit Let’s Encrypt Win-ACME application.
Let’s Encrypt certificate is successfully configured in Exchange Server 2016.
Check Let’s Encrypt certificate status
It’s important to check the certificate after installing or updating the certificate on the Exchange Server. There are many ways to verify the new certificate in Exchange Server. I recommend checking the certificate in a couple of ways. Before we start, let’s have a look if the Let’s Encrypt scheduled task is configured.
Check Let’s Encrypt scheduled task
Let’s Encrypt issued certificate is only valid for 90 days. If you want to keep a valid certificate, you need to renew it. You can do it by following the install FREE let’s encrypt certificate in Exchange Server. I recommend making use of the scheduled task option in the Win-ACME client. The scheduled task will check every day to renew the certificate. The Win-ACME client renews the certificate if it’s older than 55 days. Remember to enable the scheduled task option as described in the article Install FREE Let’s Encrypt certificate in Exchange Server.
Start the Task Scheduler and verify that Win-ACME Let’s Encrypt is configured.
Check Let’s Encrypt certificate status in Exchange Admin Center
Log in to the Exchange Admin Center (EAC). Click servers in the feature pane and follow with certificates in the tabs. Click on the Let’s Encrypt certificate in the list view. More information about the certificate can be found in the details pane.
Do you want to get a list of certificates with PowerShell? Read the article Get Exchange certificate with PowerShell.
Check Let’s Encrypt status in the browser
Start a browser, in my example Firefox and type in the OWA URL. We can see that there is no more warning showing on the padlock icon in the toolbar. Clicking the lock icon will show that we are securely connected to this site. Verified by: Let’s Encrypt. If you don’t see it, clear the browser cache.
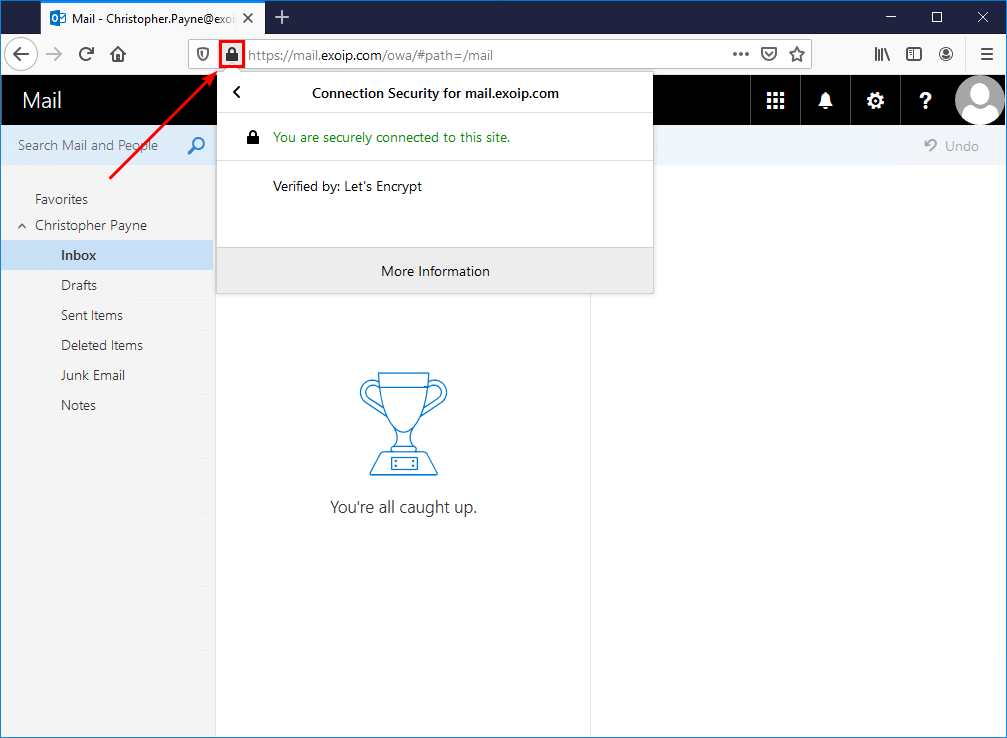
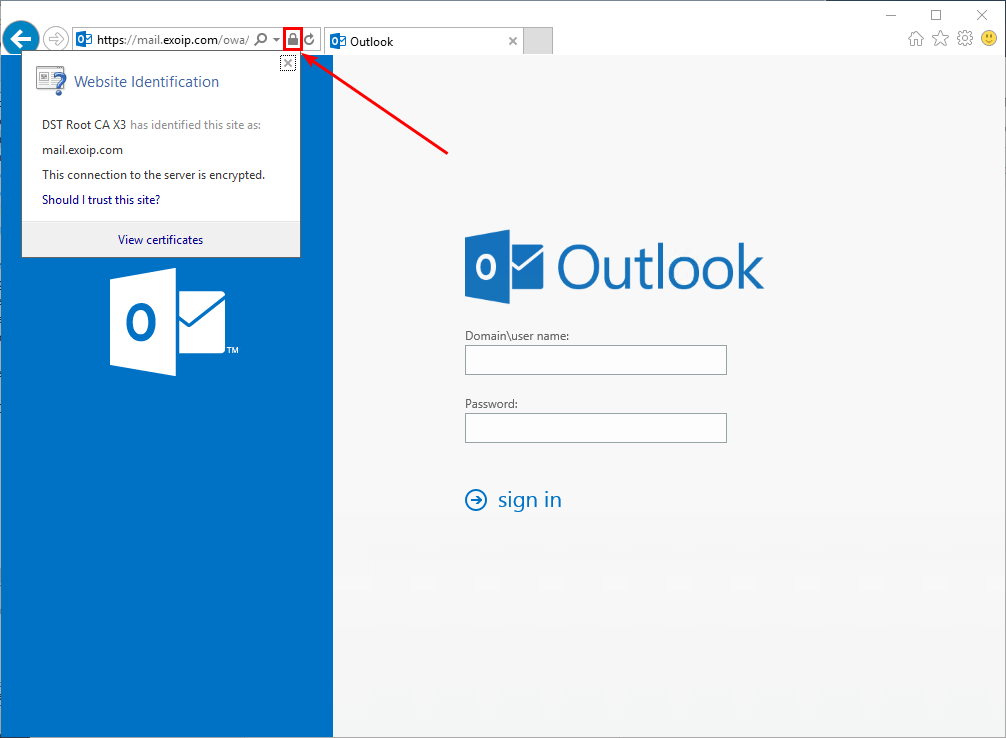
Start another browser. For example, Internet Explorer. Clicking the padlock icon in the toolbar will show that the connection to the server is encrypted.
DigiCert certificate checker
We are going to verify the Let’s Encrypt certificate with the DigiCert SSL certificate checker.
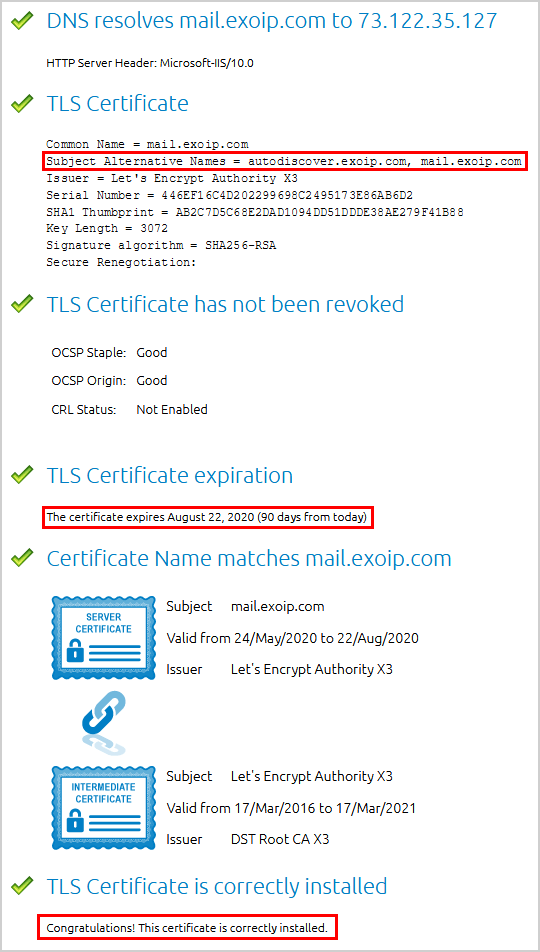
Enter the OWA URL of the Exchange Server, in my example mail.exoip.com. When entered, press the button Check Server. Have a look at the Subject Alternative Names, the certificate expiration, and that the certificate is correctly installed.
Microsoft Remote Connectivity Analyzer (MRCA)
Go to the Microsoft Remote Connectivity Analyzer page. Click Exchange Server in the feature pane and click Outlook Connectivity.

Fill in the credentials and click Perform Test.
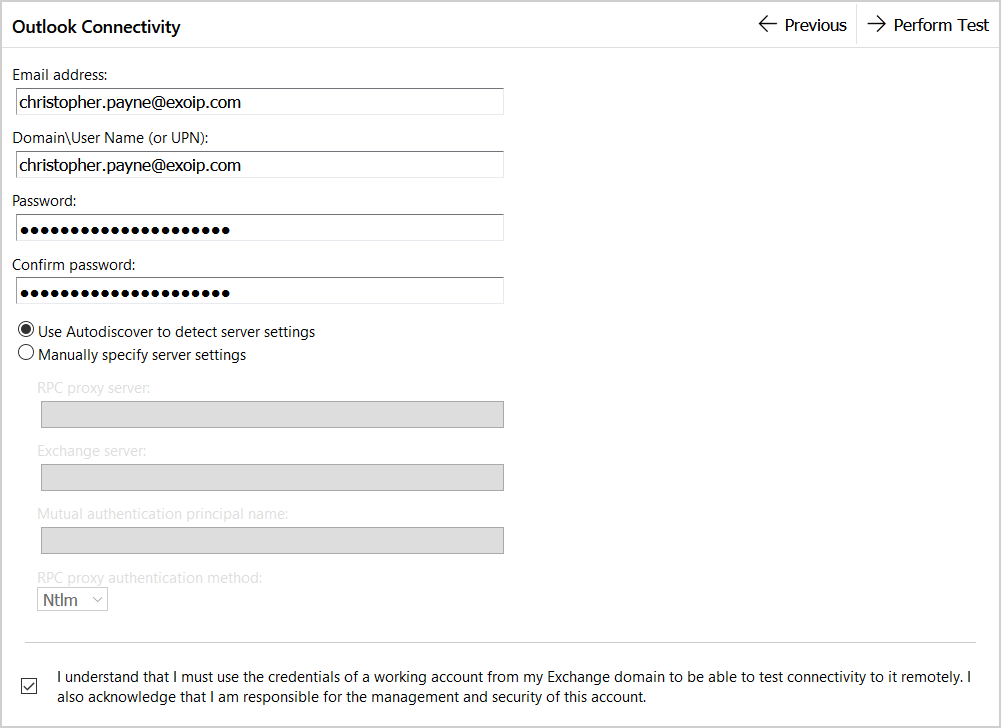
After testing, the result is showing warnings.

When looking into the warnings, it’s showing the following:
The Microsoft Connectivity Analyzer can only validate the certificate chain using the Root Certificate Update functionality from Windows Update. Your certificate may not be trusted on Windows if the “Update Root Certificates” feature isn’t enabled.
It’s a warning that impacts older machines or those that don’t allow root certificate updates. It means that machines that don’t have the latest root certificates might not trust your certificate. You can safely ignore the warning.
I hope that it helped you to check Let’s Encrypt certificate in Exchange Server.
Conclusion
In this article, you learned how to check Let’s Encrypt certificate status in Exchange Server. Start a browser and go to the Exchange Server OWA URL. Check that the padlock icon is showing a secure connection. Use an external certificate checker to check the Exchange Server OWA URL. As of last, use Microsoft Remote Connectivity Analyzer (MRCA) to check the connection to the Exchange Server. Always verify after you do a configuration on a system. In this case, it was configuring Exchange Server for Let’s Encrypt.


